What if you don’t have time to wait for dough to rise? That’s where the instant pot comes in! In this article, we will walk you through how to proof bread in an instant pot.
Is there anything the Instant Pot can’t do? It certainly doesn’t seem so! We are always learning new tips and techniques that can be done in the Instant Pot.
One of those is the ability to proof homemade bread!
It is a fairly simple process but if you have never done it and are wondering how it all works, be sure to keep reading to learn everything you need to know.
How to proof the bread in your Instant Pot:
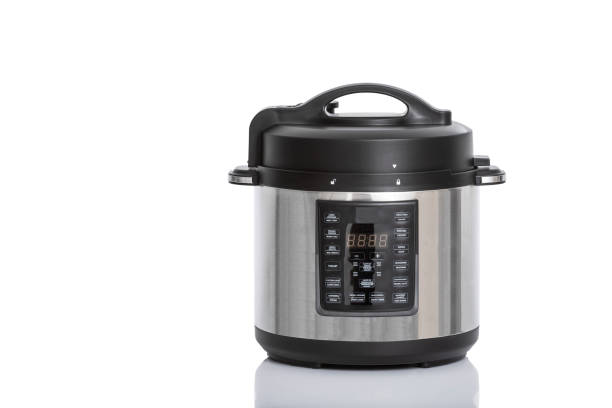
What materials are needed:
- An Instant Pot with a “yogurt” setting
- Bread dough
- Parchment paper for the inside of your pot (you can also line your pot with olive oil if you prefer)
- A lid to place lightly on top. The IP is not recommended to use as it creates more of a tight seal. You can also use aluminum foil instead of a lid.
How to do it:
- Instant Pot with a “yogurt setting”
- Bread dough
- parchment paper to prevent sticking (can help with lifting the bread out afterward) or you may use olive oil
- Lid (using a lid other than the IP lid is recommended to avoid the dough sticking to the top of it if it rises to quickly- you do not want to create a tight seal. Aluminum foil or a glass lid is sufficient).
Steps:
- Line your Instant Pot with parchment paper or brush the inside with olive oil
- Place your dough in the Instant Pot forming it into a ball
- Put your lid or aluminum foil on top lightly- do not create a seal
- Press the “yogurt” setting on your Instant Pot
- Select the “less” or “low” setting
- Set timer for 30 minutes. If the dough has doubled in size it is finished. If not, check on it every ten minutes or so until it’s finished.
What does it mean to proof bread?
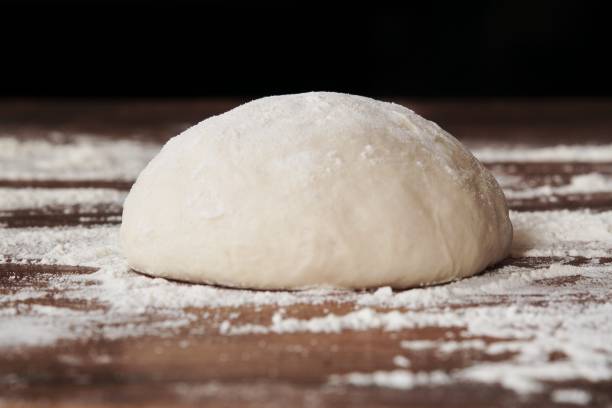
In the baking world, proofing is the process of allowing dough to rise.
This is an important step in breadmaking, as it allows the yeast to work its magic and produce a light, fluffy loaf of bread.
This is often done in a warm place so that the yeast can work its magic and create those delicious bubbles of air. If you’ve ever made bread before, then you know that the dough needs to rise in order for it to be fluffy and light.
Why proof bread in an Instant Pot?
This can be done in a number of ways, but one of the most popular methods is to use an instant pot.
One of the great things about proofing bread in an instant pot is that it speeds up the process. In a traditional oven, it can take a couple of hours for bread to double in size. With an instant pot, you can achieve the same results in a fraction of the time.
Another benefit of proofing bread in an instant pot is that it creates a warm, humid environment – perfect for the dough to rise. This is because the instant pot traps steam inside, which keeps the bread moist as it rises.
You can also set it and walk away without worry knowing it is speeding up the process so you can continue your bread making!
Can any type of bread be proofed in an Instant Pot?
Almost any bread recipe can be adapted for the instant pot. This includes recipes for sandwich bread, pizza dough, rolls, and more. Just remember to adjust the cook time accordingly – most recipes will only need to rise for 30 minutes or so in the instant pot.
We hope that this was helpful! Be sure to let us know if you have any questions about proofing bread in your Instant Pot!
more articles you may enjoy:
- How Long Does An Instant Pot Take To Preheat?
- Easy Instant Pot Butternut Squash Apple Soup Recipe
- Easy Instant Pot Tomato Soup Recipe
