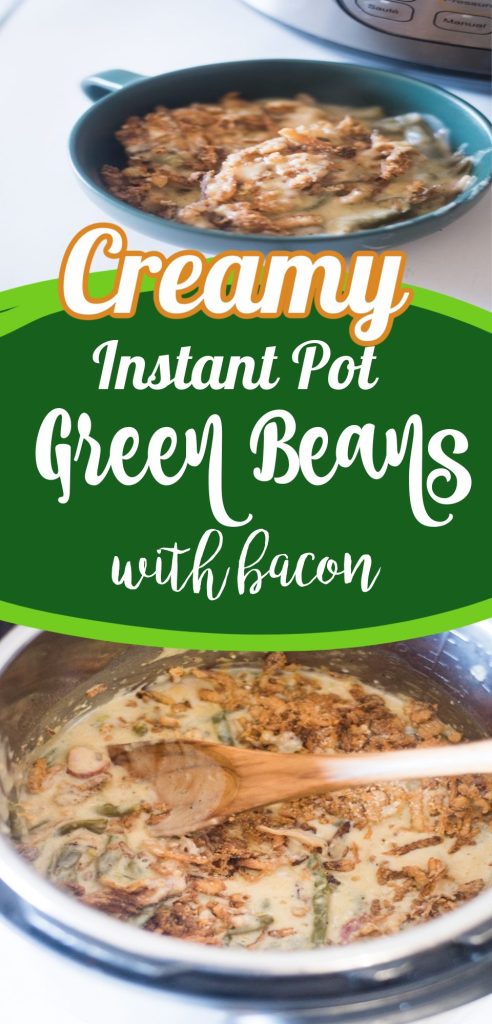
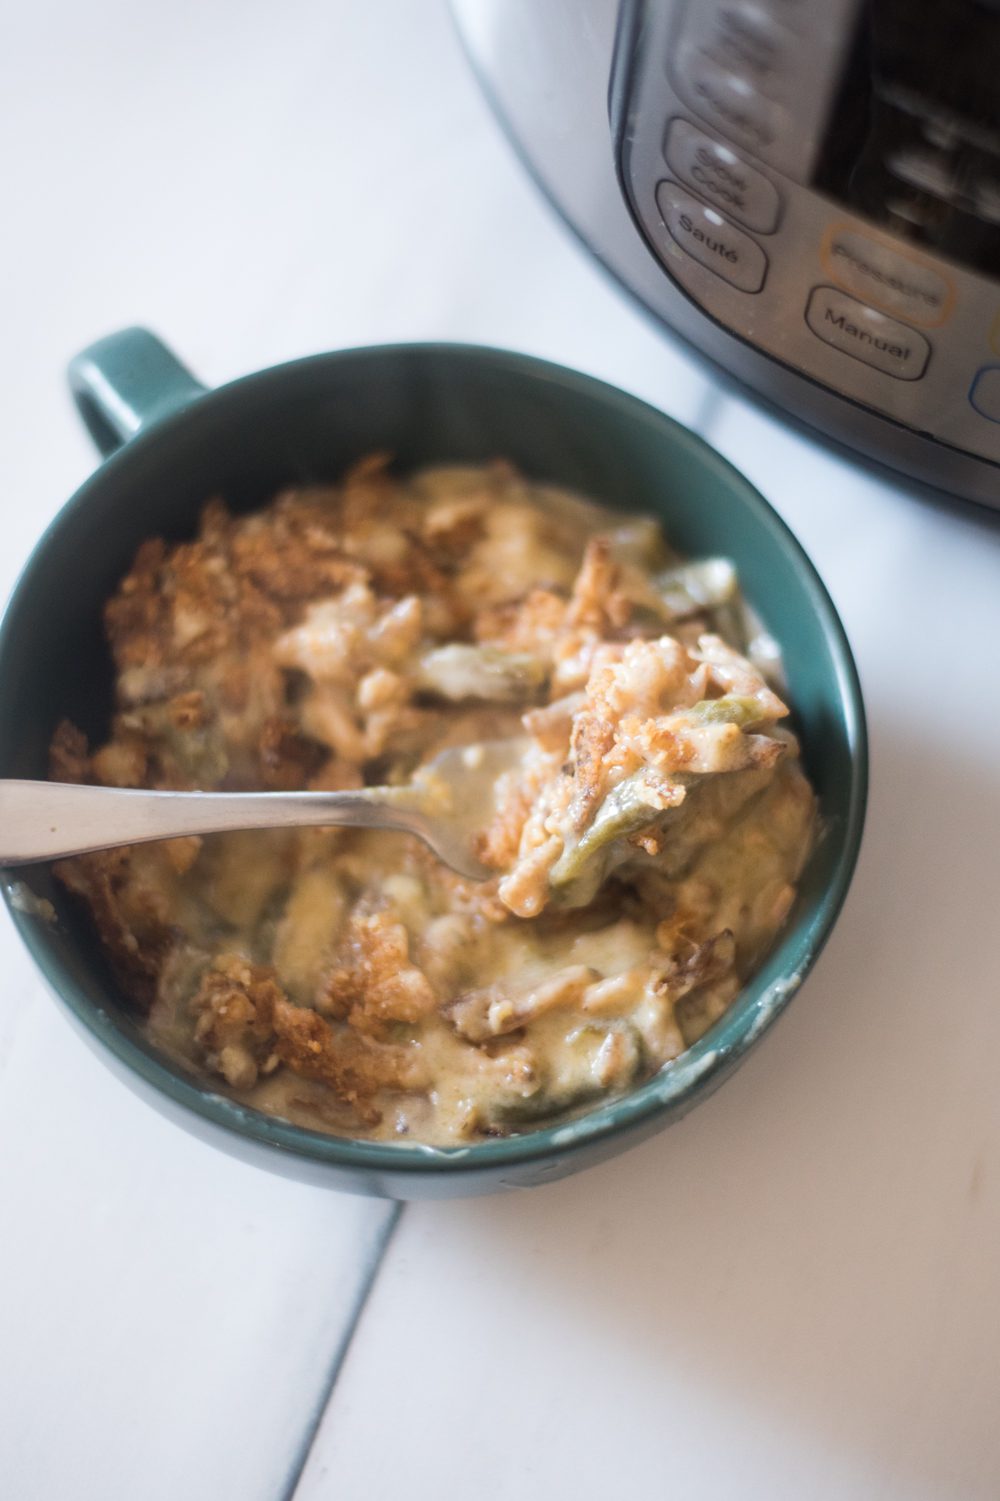
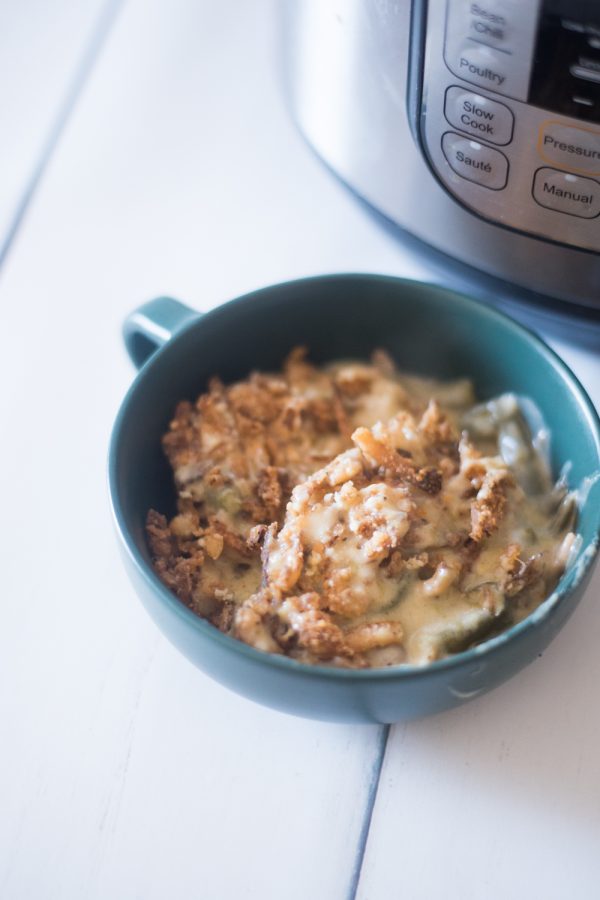
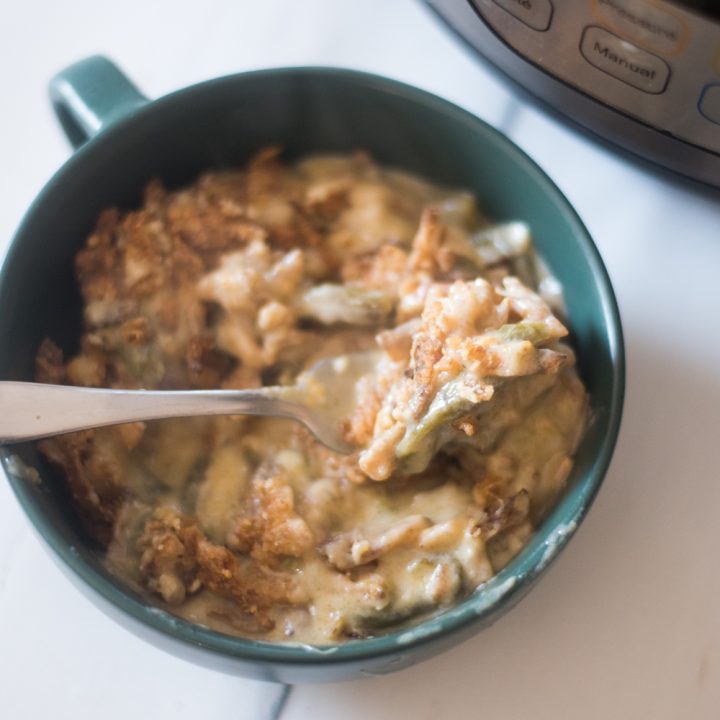
Green bean casserole is always popular during the holidays – free up some oven space by making this creamy Instant Pot Green Bean casserole that has bacon bits and cheddar cheese.
Green Bean Casserole in Instant Pot
Thanksgiving is just around the corner, and that means it’s time to start thinking about recipes. This Creamy Instant Pot Green Bean Casserole with Bacon is perfect for Thanksgiving or any other special occasion.
It’s easy to make, and it’s sure to please everyone at the table.
Plus, it’s a great way to use your Instant Pot. So don’t wait – start cooking up this delicious casserole today!
I shared a simple green bean casserole recently, but this Instant Pot green bean casserole is definitely my go-to.
I’ve dressed it up with bacon and cheddar cheese, but if you are more of a purist, you can easily omit that.
With holidays like Thanksgiving and Christmas (where green bean casserole is traditionally served), there are often many dishes that need to be cooked in the oven.
Which is another reason to LOVE the Instant Pot. My philosophy is if I can use the Instant Pot, I should!
Ingredients:
- 2 tablespoon butter
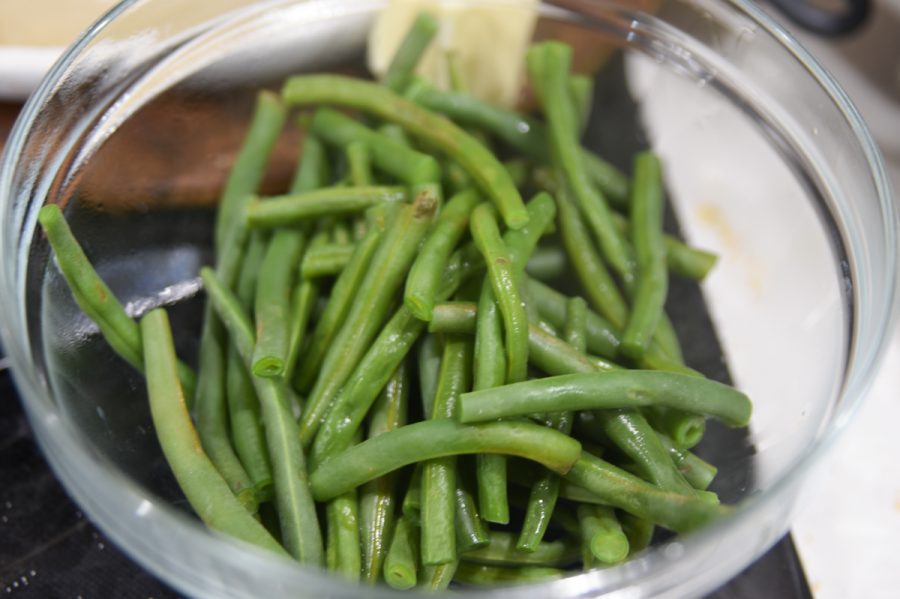
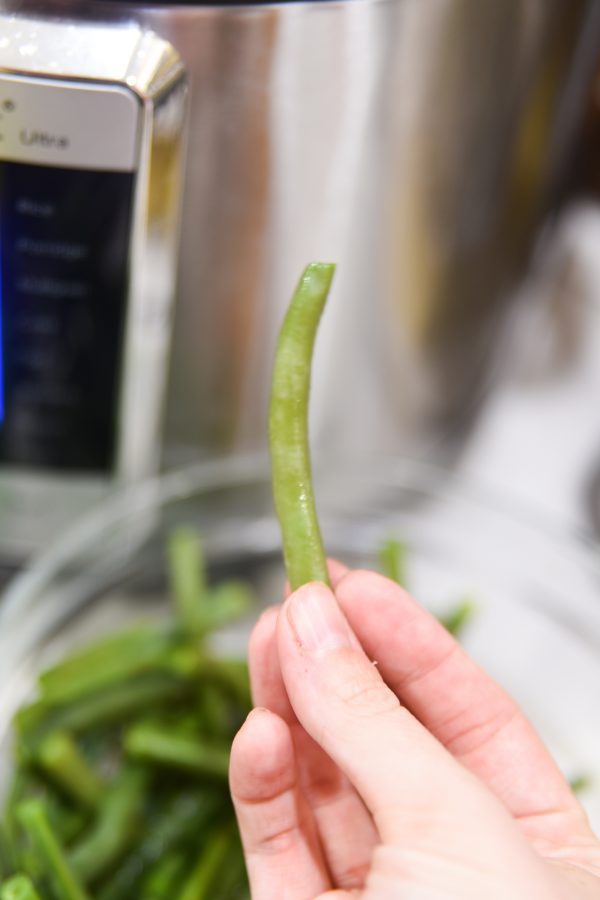
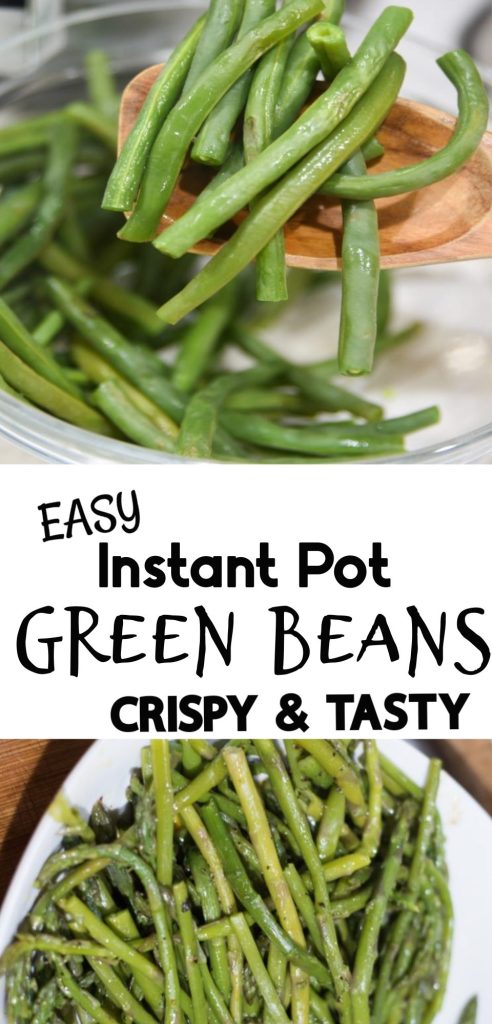
- 20 ounces frozen green beans
- Salt (about 1 teaspoon – to taste)
- Black pepper (about 1 teaspoon – to taste)
- 1 cup broth – I used Better than Boullion Vegetable broth, but chicken is a great option, too
- 1 container cream of mushroom soup
- 1/2 cup bacon bits
- 1/2 cup milk
- 1 tablespoon flour
- 1/2 cup shredded cheddar cheese
- Crispy onions and parmesan cheese (about 1.5 cups of crispy onions and 1/2 cup parmesan cheese)
Directions
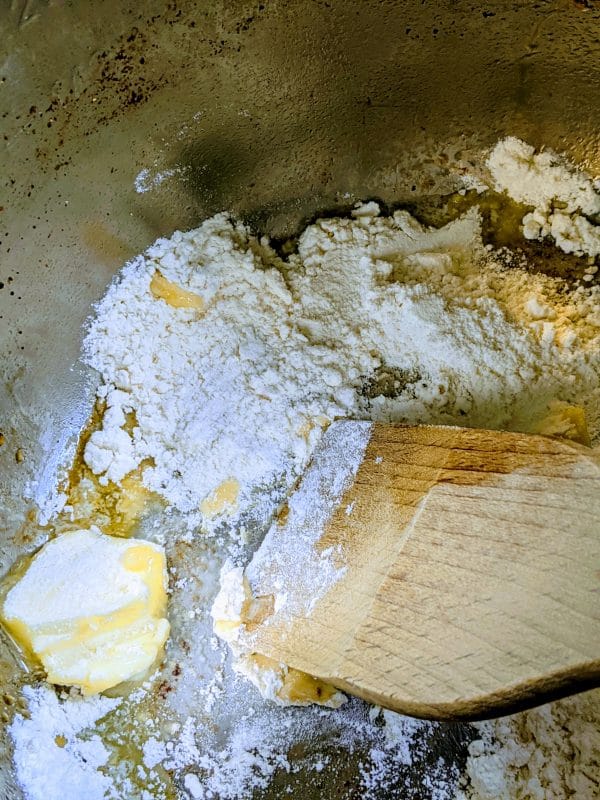
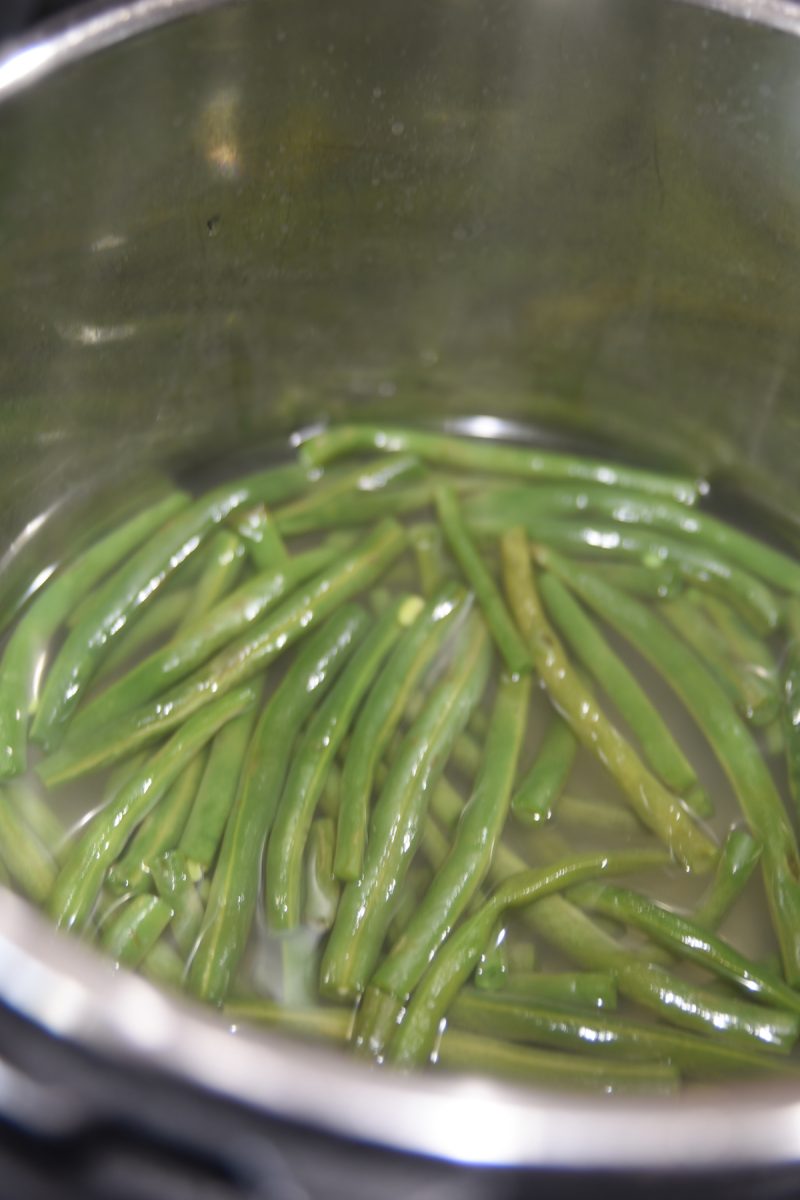
- Turn Instant Pot to saute and melt butter.
- Add green beans, season with salt and pepper, and saute for a couple of minutes.
- Add the broth, cream of mushroom soup, and bacon bits.
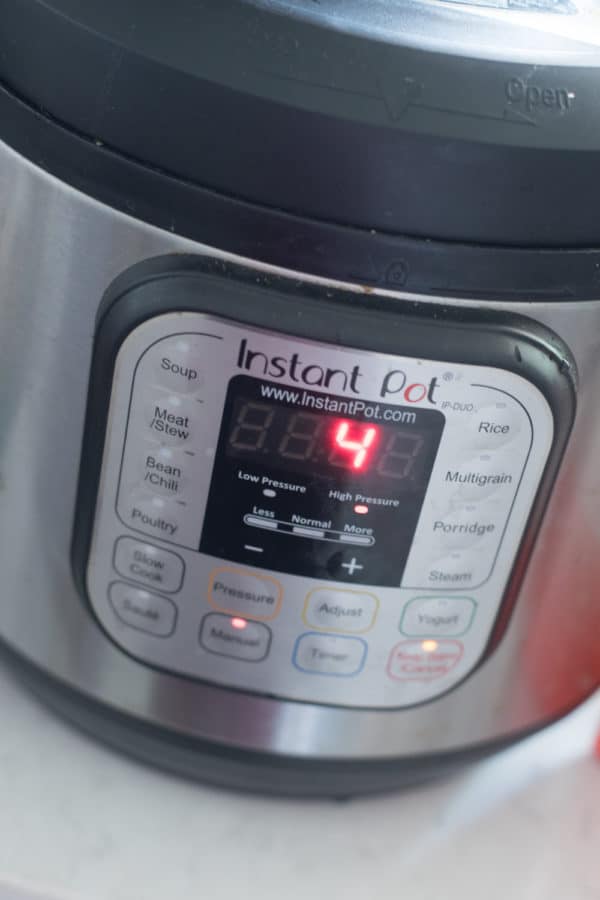
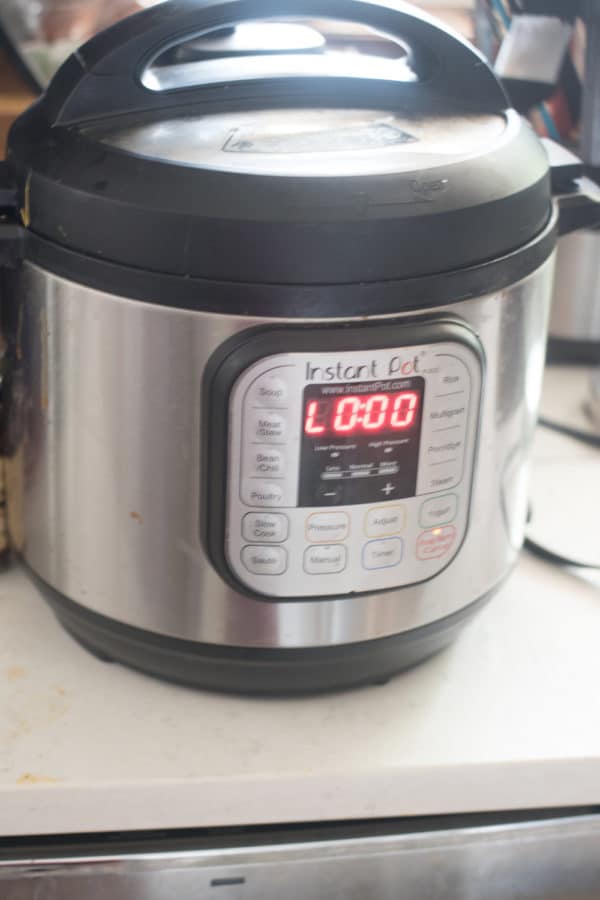
- Cook for 7 minutes on manual high pressure.
- Use quick pressure release to release the pressure.
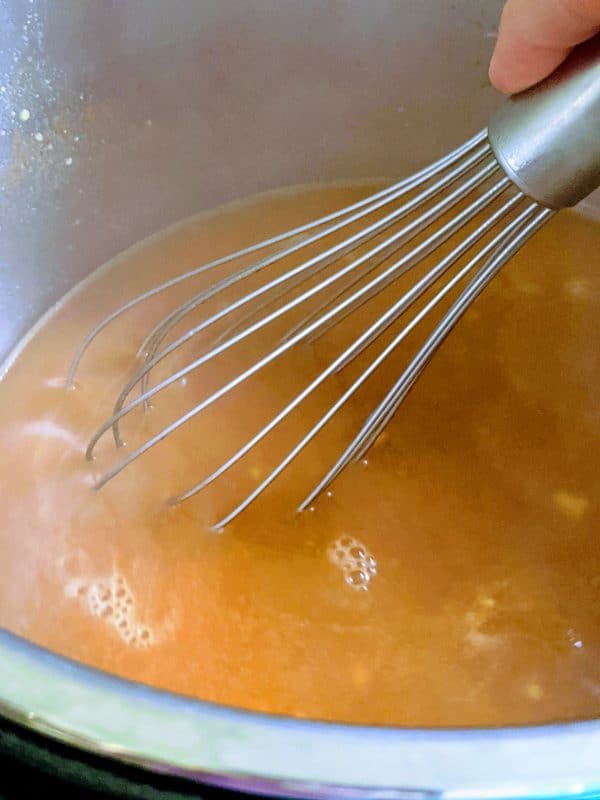
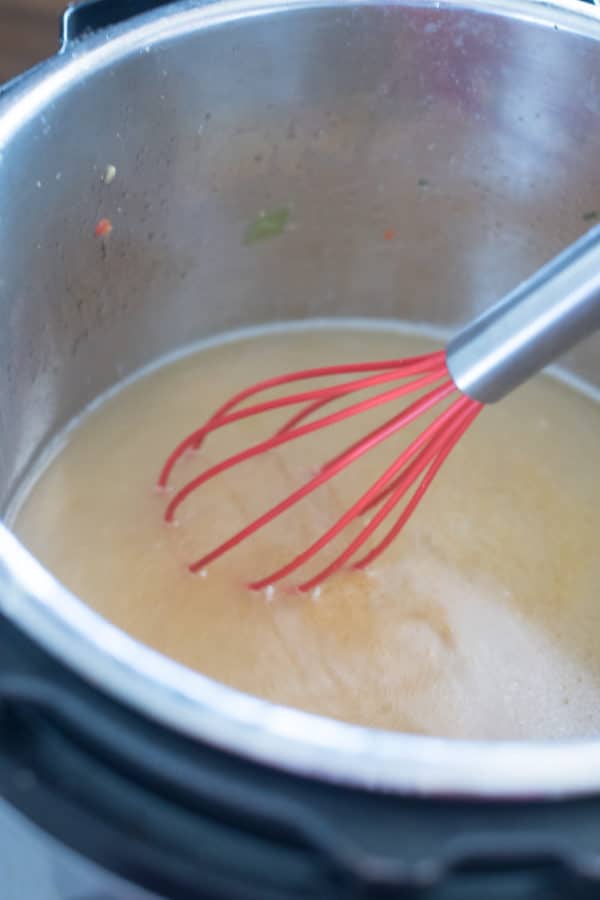
- While the pressure is releasing, whisk together milk and flour until smooth.
- Once pressure is released, switch the Instant Pot to saute on low.
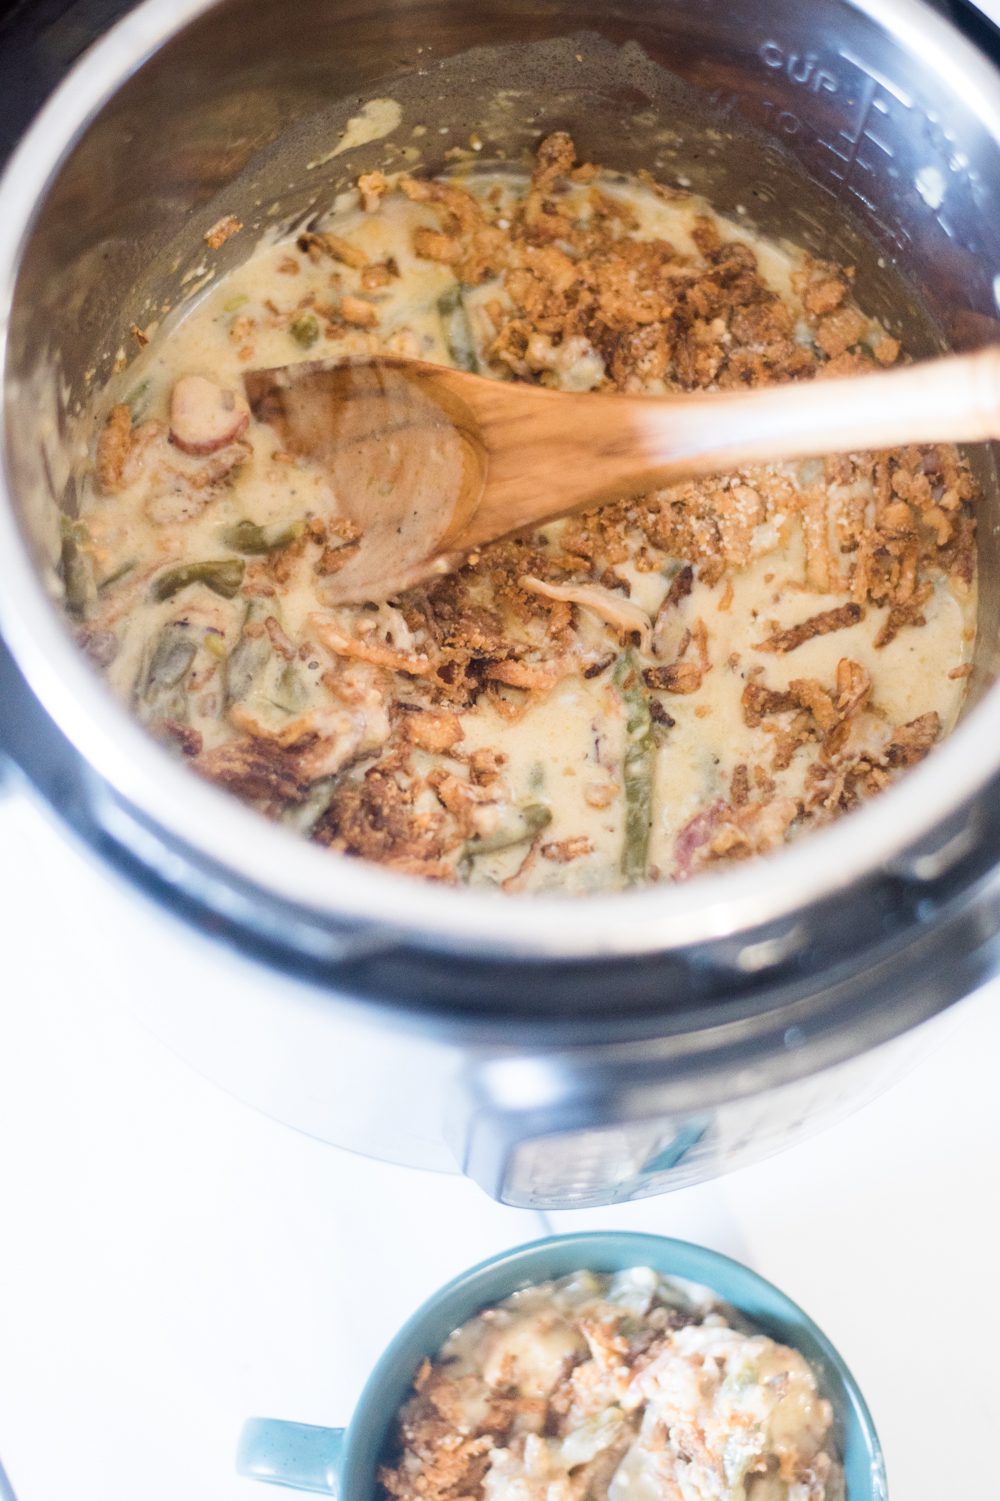
- Whisk milk mixture into the casserole until smooth.
- Add in cheddar cheese and stir until smooth.
- Stir until you reach desired consistency.
- Mix together crispy onions and parmesan cheese
IF YOU HAVE A CrispLid
- Add crispy onion mixture on top
- Use CrispLid at 500 degrees for 3-4 minutes.
IF YOU DON’T HAVE A CRISPLID
- Transfer casserole to a baking dish and top with onion topping.
- Broil in the oven for 1-2 minutes.

Variations
- Use a different kind of cheese – a lot of people seem to like mozzarella cheese
- Add mushrooms
- Add cranberries
Mealthy CrispLid + Coupon
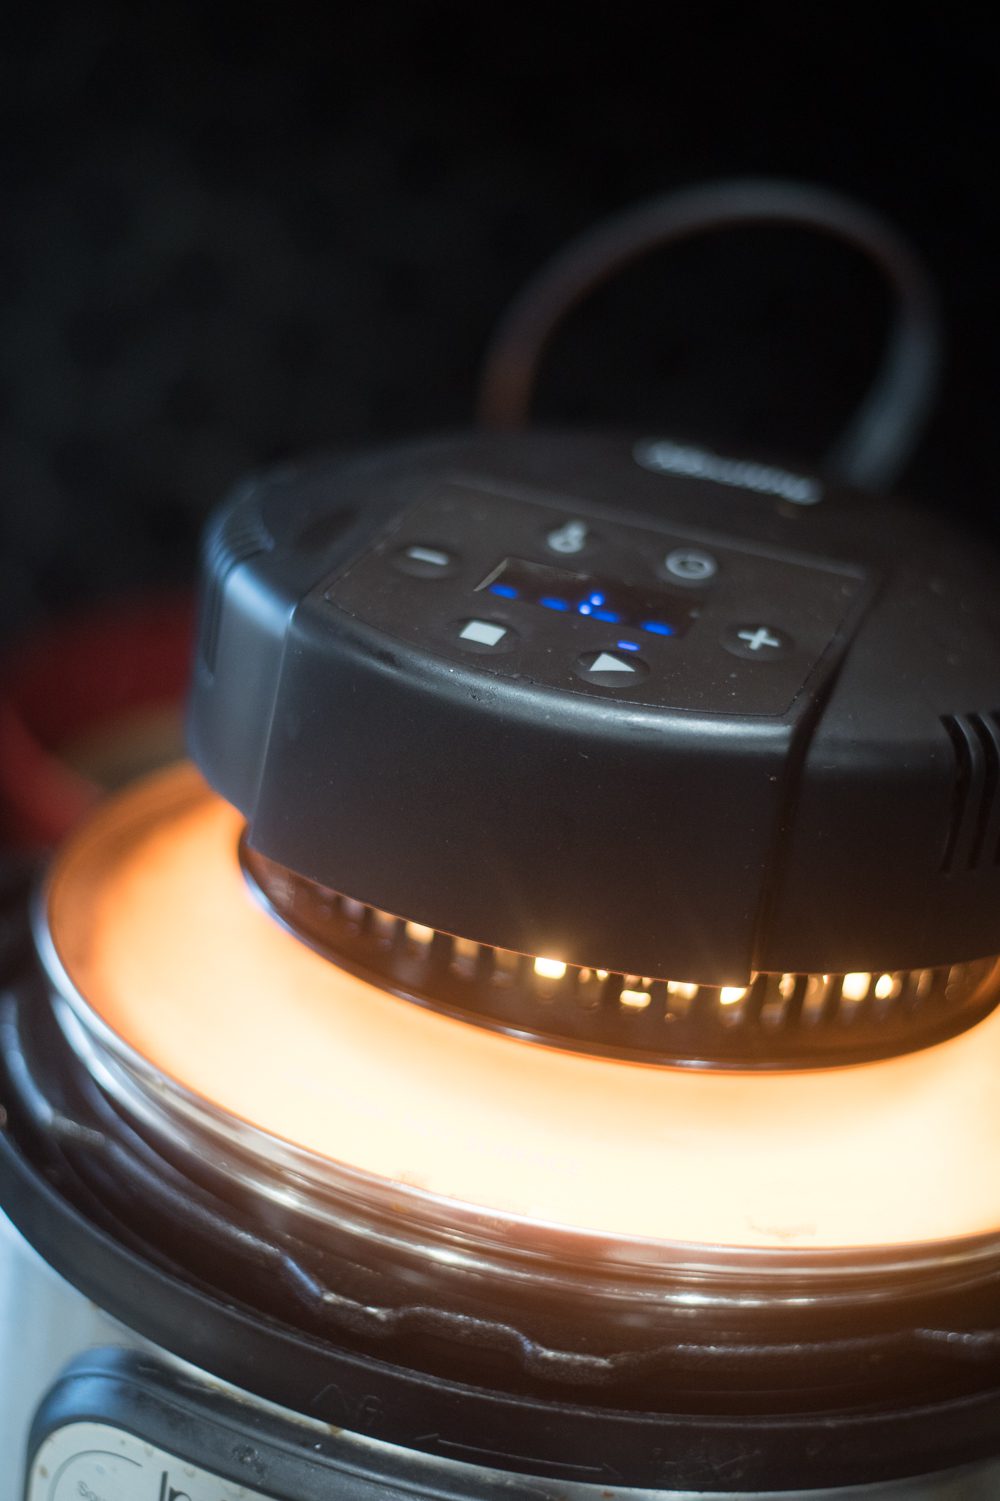
When I make this recipe, I used my Mealthy CrispLid. If you’ve never heard of this, it’s pretty much my favorite Instant Pot accessory.
It essentially is a lid that turns your Instant Pot into an Air Fryer.
But my favorite use for it? Crisping things up.
I would always get annoyed when I would have to transfer something in my Instant Pot to another dish so I could crisp it up.
The CrispLid makes it a breeze! I used it with this recipe, and the top was nice and crispy in about three minutes.
Of course, you can make it without the CrispLid, but if you find yourself in the situation I described often, this might be something to add to your wishlist.
You can use the code CLARKSCONDENSED to get $10 off orders of $59.95 or more on Mealthy.com!
Topping Alternatives
Don’t like the crispy onion strips on top? These are my favorite, but I know they aren’t for everyone!
- Sprinkle cheese and crisp it up
- Bread crumbs
- Crushed up pork rinds (this would be a good option to make this lower carb/keto-friendly)
- Bacon bits
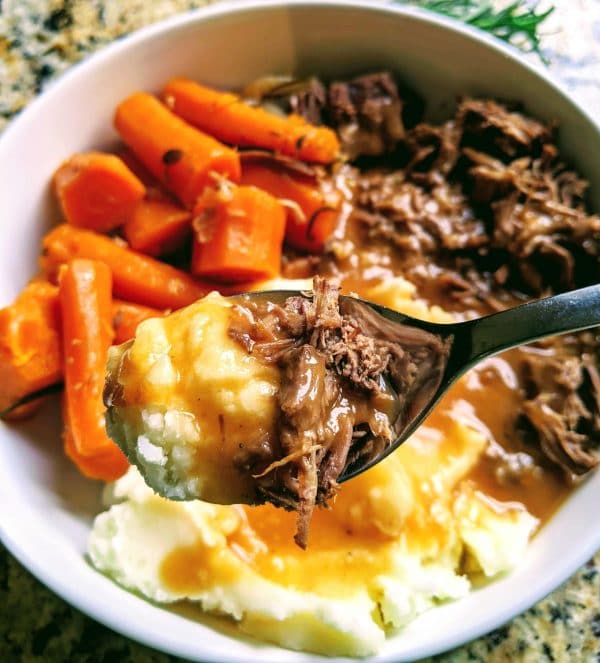
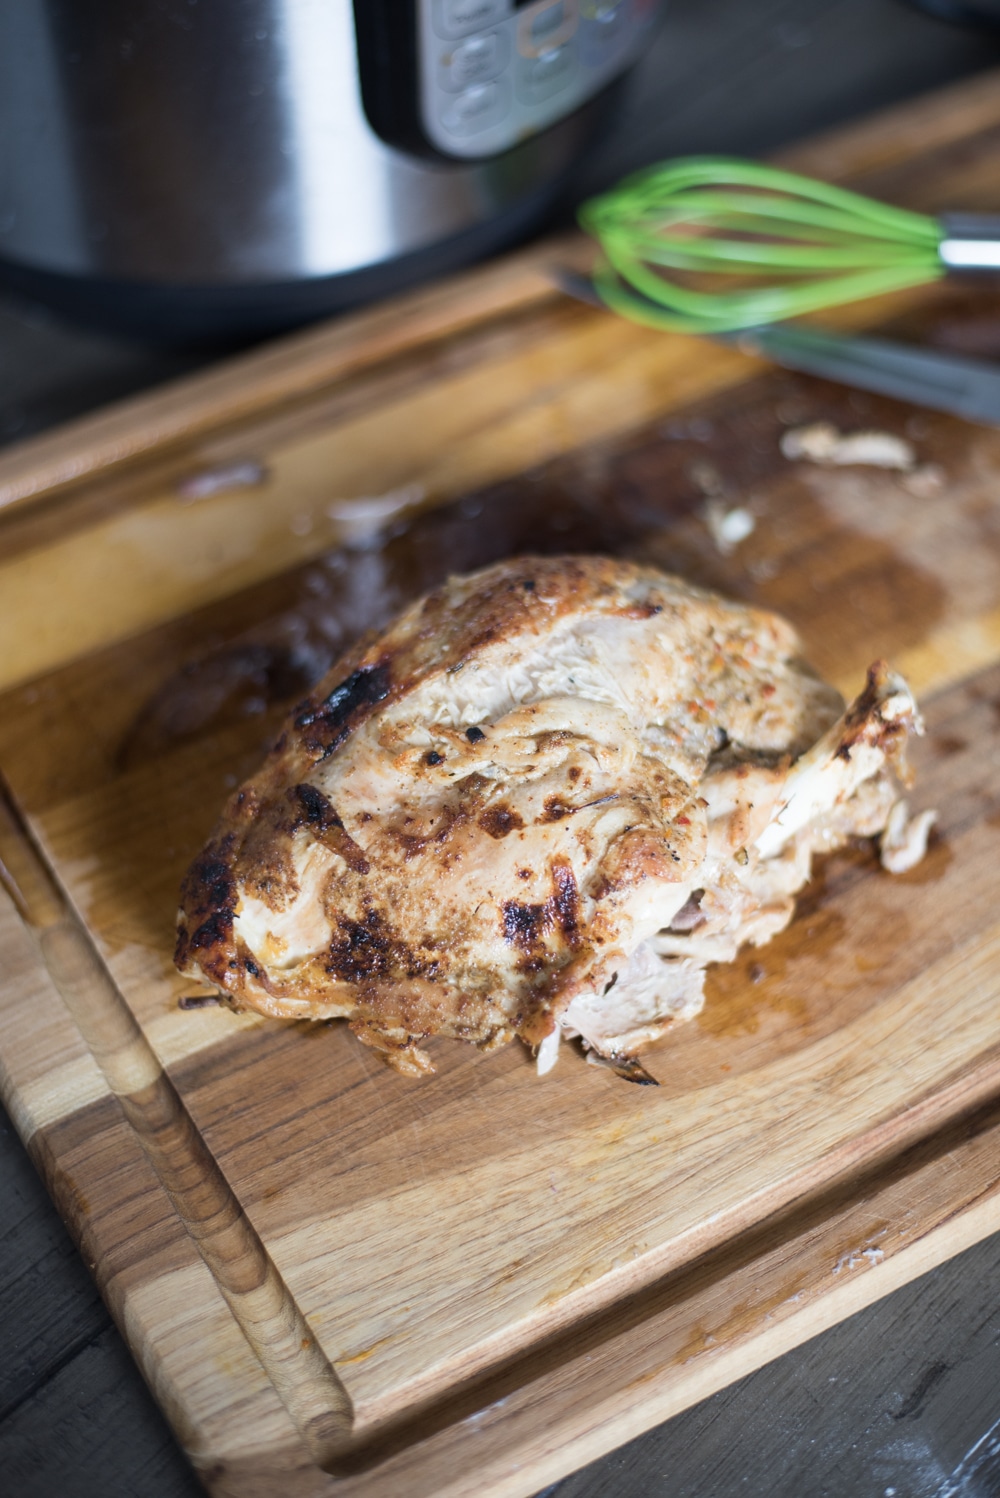
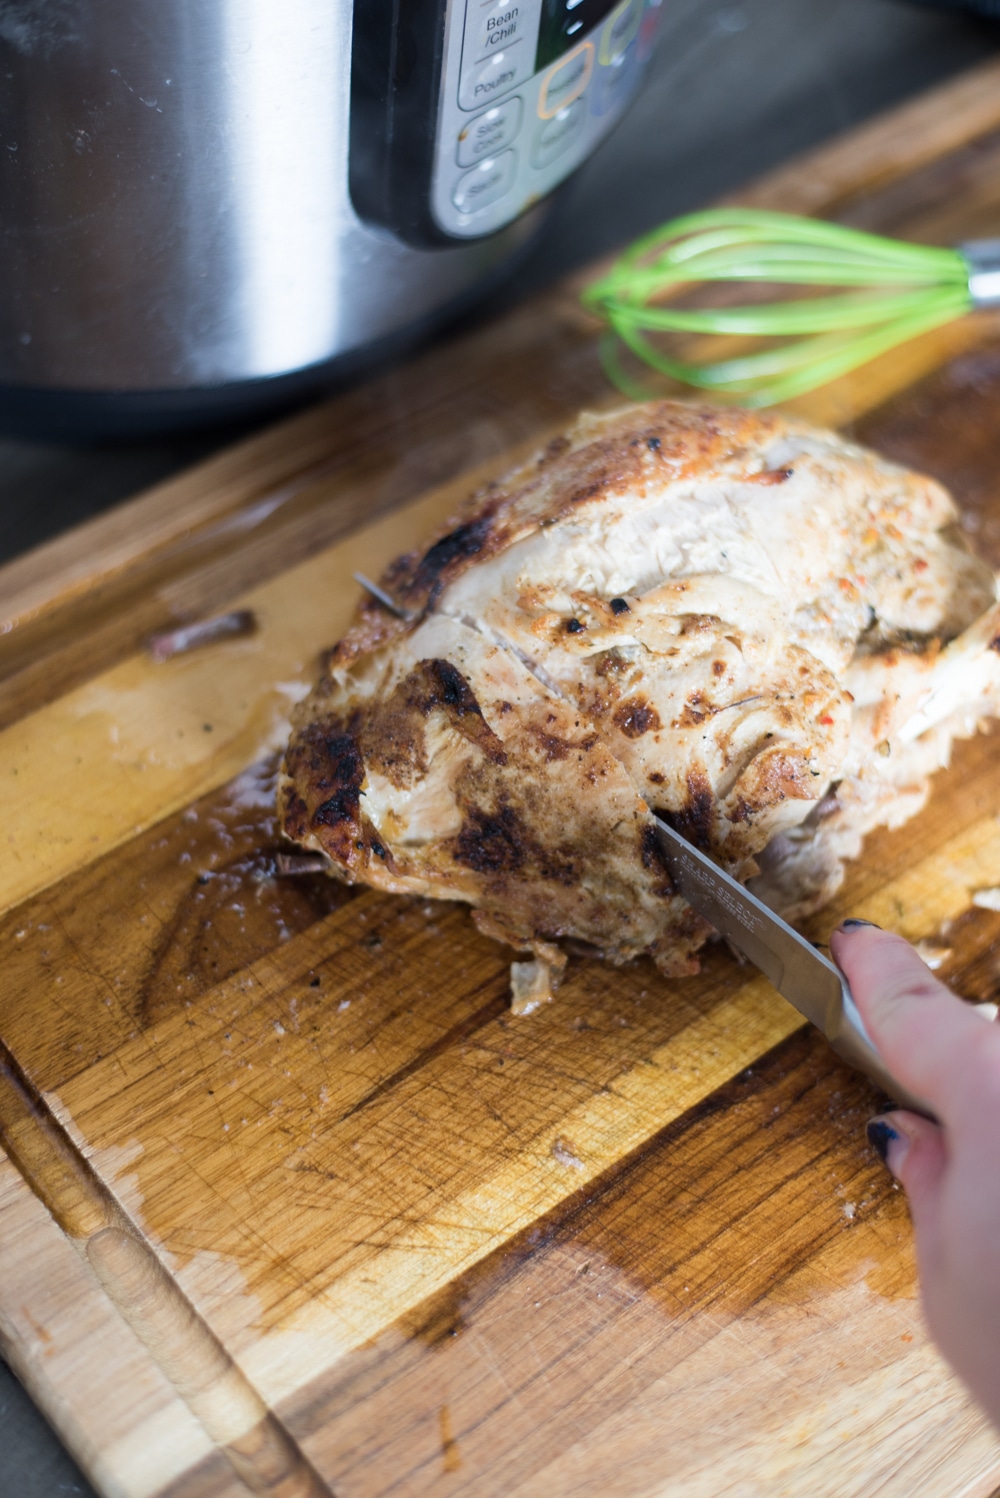
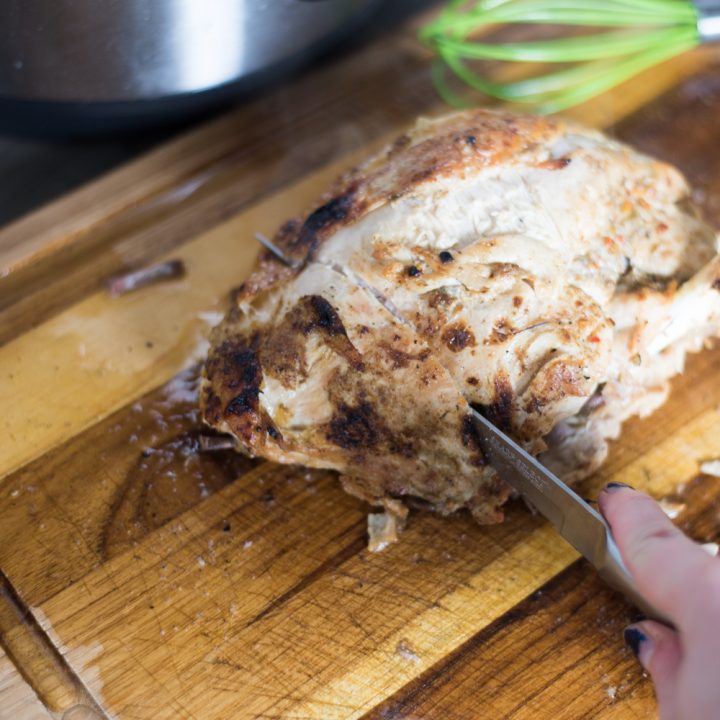
What to Serve with Instant Pot Green Bean Casserole
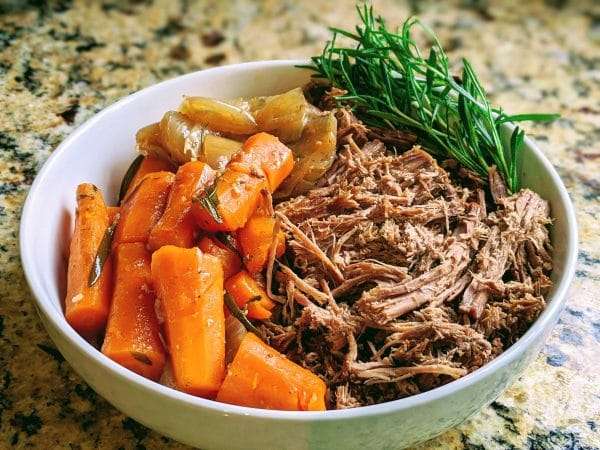
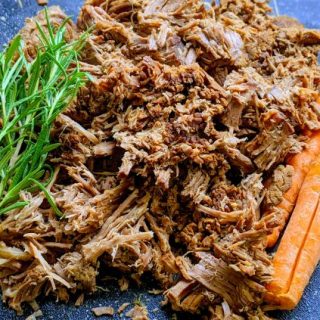
- Turkey
- Turkey Breast
- Instant Pot Mashed Potatoes
- Rolls
- Cranberry Sauce
- Ham
- Chicken breasts
- Yummy Potatoes
What Instant Pot do you use?
I have the Instant Pot DUO60 7-in-1. Love it! It’s worked like a charm for about three years now.
What if I don’t want to use canned cream of mushroom soup?
I totally get that! Fortunately, there are some GREAT homemade cream of mushrooms soups out there. This one from Taste of Home looks wonderful. I also really like Pacific Organic Cream of Mushroom Soup.
Can I use fresh green beans?
I’m all about fresh vegetables, however, fresh or canned green beans will get overcooked and too mushy in this recipe. Definitely use frozen.
How can I make this vegan?
Omit the bacon and cheese. Make sure you use a vegetable-based broth.
How many servings is this?
This makes about 10-12 servings.
Instant Pot Green Bean Casserole
Ingredients
- 2 tablespoon butter
- 20 ounces frozen green beans
- Salt (about 1 teaspoon – to taste)
- Black pepper (about 1 teaspoon – to taste)
- 1 cup broth – I used Better than Boullion Vegetable broth, but chicken is a great option, too
- 1 container cream of mushroom soup
- 1/2 cup bacon bits
- 1/2 cup milk
- 1 tablespoon flour
- 1/2 cup shredded cheddar cheese
- Crispy onions and parmesan cheese (about 1.5 cups of crispy onions and 1/2 cup parmesan cheese)
Instructions
- Turn Instant Pot to saute and melt butter.
- Add green beans, season with salt and pepper, and saute for a couple of minutes.
- Add the broth, cream of mushroom soup, and bacon bits.
- Cook for 7 minutes on manual high pressure.
- Use quick pressure release to release the pressure.
- While the pressure is releasing, whisk together milk and flour until smooth.
- Once pressure is released, switch the Instant Pot to saute on low.
- Whisk milk mixture into the casserole until smooth.
- Add in cheddar cheese and stir until smooth.
- Stir until you reach desired consistency.
- Mix together crispy onions and parmesan cheese
IF YOU HAVE A CrispLid
- Add crispy onion mixture on top
- Use CrispLid at 500 degrees for 3-4 minutes.
IF YOU DON’T HAVE A CRISPLID
- Transfer casserole to a baking dish and top with onion topping.
- Broil in the oven for 1-2 minutes.
Nutrition Information:
Yield: 8 Serving Size: 1Amount Per Serving: Calories: 220Total Fat: 13gSaturated Fat: 5gTrans Fat: 0gUnsaturated Fat: 6gCholesterol: 30mgSodium: 770mgCarbohydrates: 16gFiber: 3gSugar: 6gProtein: 11g
Everything is better with bacon, right? This dish is no exception.
The smoky flavor of the bacon takes this classic green bean casserole to another level. If you’re looking for a delicious and easy holiday side dish, look no further!
This Creamy Instant Pot Green Bean Casserole with Bacon will be a hit with your family and friends.
Other recipes you may enjoy: